There are quite a few recipes that my mother-in-law makes that our family just loves. Her lasagna has always been one of those recipes. But, after spending years gluten-free, I didn’t get to enjoy the lasagna for a long time. Eventually, I started making her recipe at home to enjoy sans gluten. But, of course, when I went to make the recipe for the blog, it had disappeared.
It could be that I hadn’t used it in a long time because I know the basics of what she put in her recipe. I could be that when I was rearranging recipes in my homemade cookbooks it got pulled out and never put away. I don’t know. So, this is the recipe as I threw it together for this blog post.
It’s been fully taste tested and the family agrees that it’s blog-worthy.
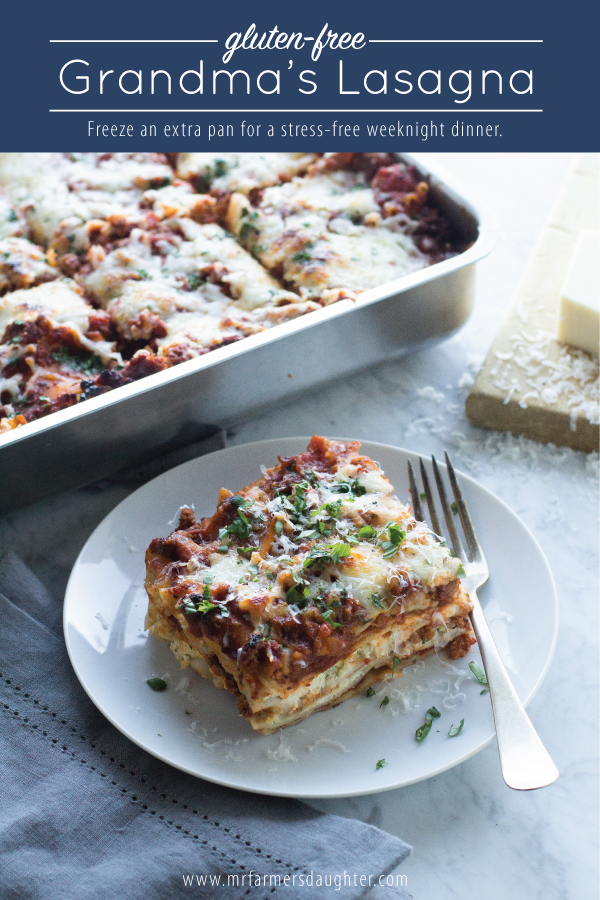
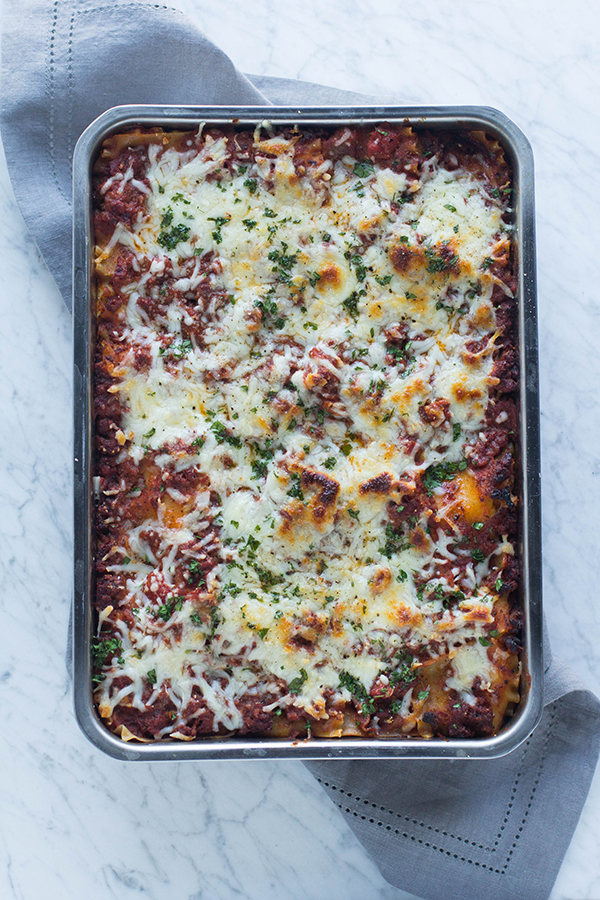
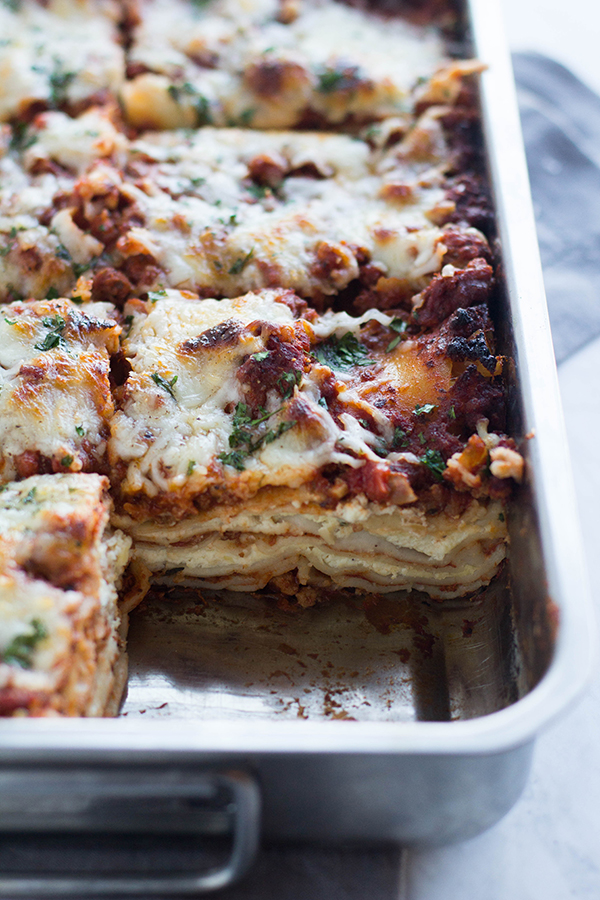
The gluten-free noodles are tender but not soggy. The sauce is tart as well as just a little sweet and the ricotta (the filling my son said it needs more of) is creamy and has just a touch of honey for a little more sweetness. The cheese, toasted yet still a little gooey, tops it off perfectly.

If you wait about 15 minutes to cut and scoop you’ll be able to get the full pieces out without it falling apart. It will still be plenty hot that you have to wait to take a bite.
This recipes goes perfectly with the Cheesy Garlic Bread I posted a few weeks ago!
A few notes on this recipe:
• I used Tinkyada lasagna noodles. The ones my local grocery store stopped carrying a few weeks ago. >:|
• I never go by the directions on the box. They get too soggy if you do that. I undercook them by about half. That means they are slightly flexible, but won’t fall apart when lifted out of the water with tongs. They will continue to cook in the sauce as the lasagna bakes.
• As for spaghetti sauce, I often have homemade stored in my pantry, but in this case, I used an organic, no-sugar brand from the store. I doctor it up a bit to my taste. Feel free to do the same for yourself.
• When looking for ricotta cheese, choose a brand without any questionable ingredients. There are several brands that are only milk, salt and vinegar. That’s all it should be. If it comes from a pastured dairy source, that’s even better!
- FOR THE SAUCE:
- 1 lb. ground beef
- 1 lb. ground pork
- 32 oz. spaghetti sauce, homemade or jarred
- 2 tsp. dried basil
- 2 tsp. dried oregano
- -
- FOR THE CHEESE MIXTURE:
- 15 oz. ricotta cheese
- 1 cup parmesan cheese, grated
- 1 cup mozzarella cheese, shredded
- 2 eggs, whole
- 1 Tbls. Honey
- 1 tsp. dried basil
- 1 tsp. mineral salt
- -
- Gluten-free lasagna noodles, cooked to almost al dente and kept in cool water. Enough to make five complete layers in your lasagna pan.
- -
- Extra mozzarella cheese to top (about 2 cups)
- TO ASSEMBLE THE PAN:
- Preheat oven to 400˚.
- You will need a pan equivalent to 9"x13".
- On the bottom of the pan spread a little bit of the sauce. This will keep the noodles from sticking to the bottom.
- Then, layer noodles, lengthwise in the pan, on top of the sauce leaving as little space between them as possible.
- Spread ⅓ of the leftover sauce on top of the noodles.
- Layer noodles on top of the sauce, going the other direction, parallel with the short side.
- With a spoon or a small ice cream scoop, scoop half the cheese mixture on top of the noodles and carefully spread it around in an even layer.
- Spread another layer of noodles lengthwise in the pan.
- Spread another ⅓ of the sauce on top of that and continue alternating the layers with cheese and sauce, ending with sauce on top of the dish.
- Spread the mozzarella cheese on top of that and place in the oven with a piece of foil lightly on top of the dish.
- Bake for 50 minutes, removing the foil after 30 minutes.
- Allow the top to brown and the pan to bubble on the sides.
- Remove and allow to cool for about 10 minutes before serving. This allows the juices to stop moving and makes it easier to get complete pieces out of the pan.