
Stairwell greenhouse
While we waited for a patio renovation around a new stairwell over the summer, I got this idea in my head that during the winter we could possibly capitalize on the heat in that new stairwell for a greenhouse. It’s on the south side of the house which is perfect. The two trees draping over the patio would be bare during winter allowing light into the stairs. There was no railing to get in the way, plus, adding a covering to the stairwell has the added benefit of keeping snow and rain out. Since we moved into the house we have suffered water in our finished basement at least twice a year. Last year we were finally in a position to have a basement waterproofing system installed however, years of hard rains and thunderstorms have left us gun-shy and any time we can ensure less water moves towards our basement floor, the better.
The day we decided to install the greenhouse, snow was reported in the forecast and we hadn’t yet cleaned up all the patio furniture, firepit chairs or potted plants. We took the day, cleaned everything up and built the greenhouse. My husband’s such a trooper. He didn’t complain once. We installed it only hours before the snow came.
Although I intended to use the greenhouse all winter, I wasn’t well prepared. Having tracked the temperature fluctuation inside the greenhouse for a couple weeks now I realize I could have kept a bunch of greens alive all winter but in order to actively grow anything I need to have the temperature be above 55˚.
It has been perpetually cloudy and rainy this winter not allowing me to gather heat into the greenhouse so I’ve since decided not to add anything to it until at least February 1st. Until then, I will look for a small heater with a thermostat to keep the temperature more steady and pray for sun.
Stay tuned for Part II!
Captions explain the process we used for installation.
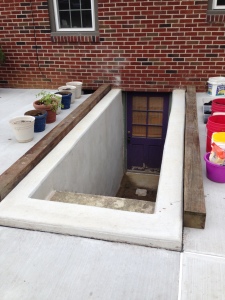 This is the stairway before we did anything to it. The 4×6’s were dug out of our lumber pile at the barn. They are 12′ long.

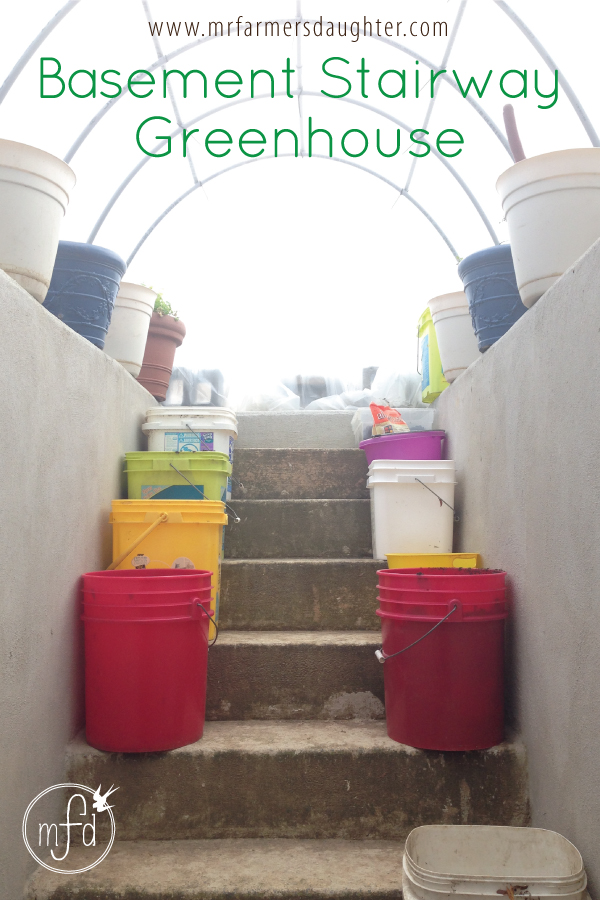
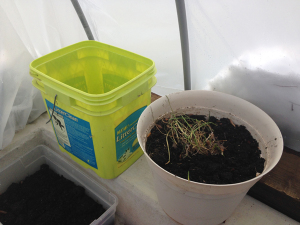
I started by putting the tubs and buckets I’d saved/found/rounded up into the stairway. It would be awkward to try to get them in after the hoops went up.
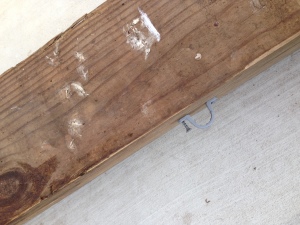
We attached “U” clips to the boards at measured intervals. They are each about 18″ apart.
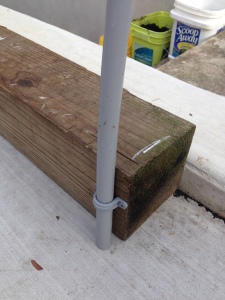
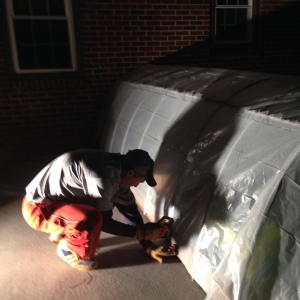
The conduit (10′ lengths) then slipped into the clips on both sides. It took two of us to do this but it went smoothly.
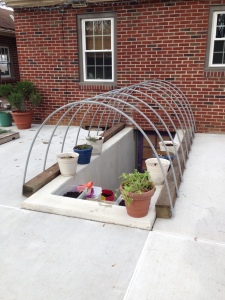
The conduit came in a pack of ten pipes. We used eight for the greenhouse ribs and used the other two as spines to secure the top. We used an extra one we had on hand for a third spine across the top. We’re hoping that this helps with the snow load during the winter.
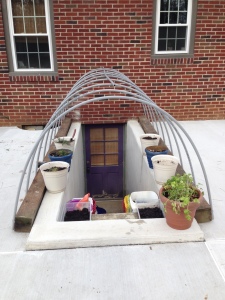
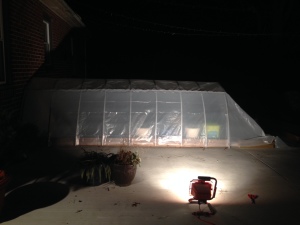
Next, we spread the plastic out the length of the top and down both ends, careful to leave enough to secure it. It was beginning to get dark about this time so we set up a shop light.
The plastic size was 10′ x 25′. We ended up cutting off about 3′. We then stapled the sides of the plastic to the boards.

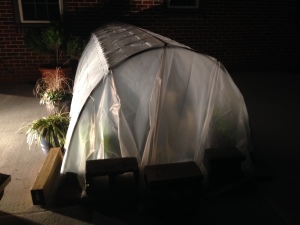 We used cinderblocks that we had laying around to secure the far end. The end towards the house was pulled down between the closest hoop and the bricks. We will secure that as soon as we get tired of it hitting our heads every time we step into the greenhouse.

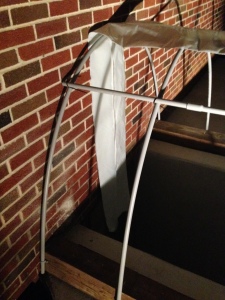
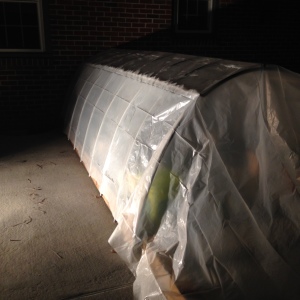
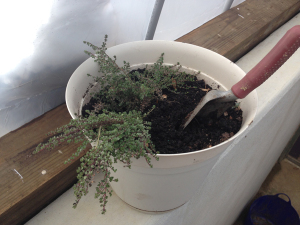
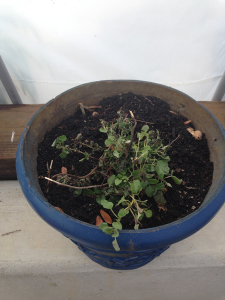
The first couple weeks there was a lot of condensation on the inside. Now, that it’s colder, not so much even though it’s above freezing 90% of the time. I have pots inside for when I’m ready to heat the greenhouse.
 Thanks for visiting my first official walk-in greenhouse! I’m so excited to begin growing things WAYYYYY before it’s warm outside. The plan? To start seeds in January, move them into the pots in February and have things ready to harvest by April, a full two months before they would be ready in the garden!