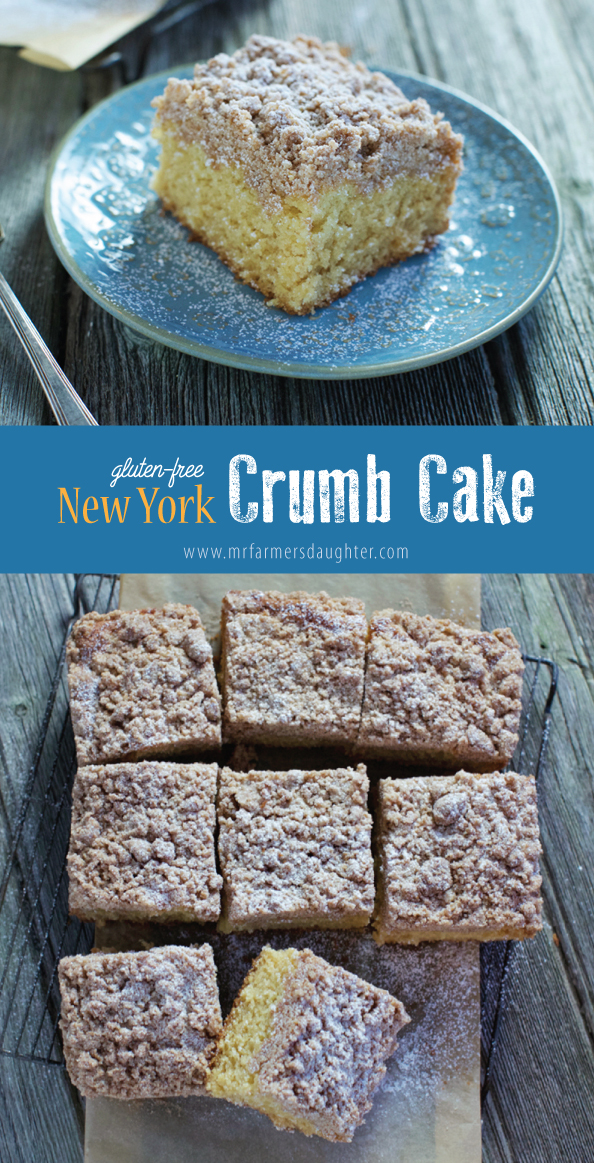
Many years ago I made baklava for a stand at the farmer’s market. This was a great stand! Not just because they sold my awesome baklava but also because the owner took a weekly trip to NYC where he brought back real bagels and real New York Crumb Cake. I think it was the first time I’d ever had anything like it and I was in love. Of course, this was between my first wheat allergy diagnosis and my second. I enjoyed several years of denial. They were delicious.
Since then I’ve tried a couple times to come up with a recipe that replicates that authentic flavor. All the iterations were edible but just not … right. I gave up and lived a sad life, devoid of the best crumb cake ever.
Not really. My life is kinda great. But, you know … it’s sad when we lose things we love from our diet. Much of this blog is about getting those things back.
So, I determined to make it happen for the blog. There are some gluten-free recipes out there in bloggerland and I’d tried them but I wanted one of my own, with ingredients that I have on hand, ingredients I trust and nothing weird. I also wanted it to be simple. This one is no more difficult than making a crumb topping in a food processor and a batter in a bowl with a mixer. If you don’t have either, it also works great with a pastry blender and a whisk.
A few notes:
I use the ATK gluten-free flour mix. You may use your favorite flour mix but the texture and flavor might be a little different.
I also added some extra rice flour to get the right texture. You’ll need to have that on hand but it’s usually a staple in every gluten-free kitchen.
I always choose organic ingredients, whenever possible.
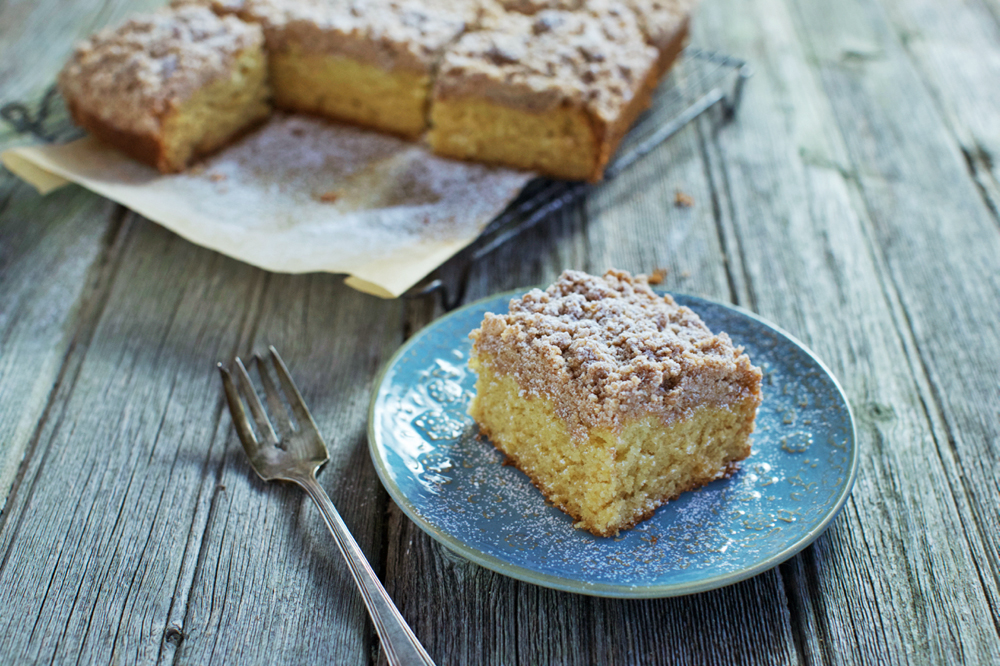
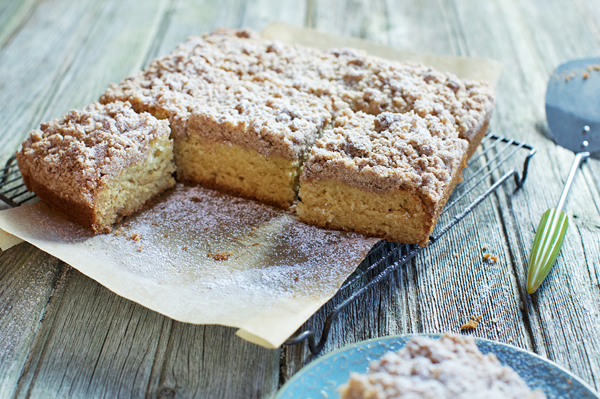
I chose to make the quantity smaller than a traditional 9”x13” cake. Typically, gluten-free cakes don’t rise much in such a large pan. This is made in an 8” square baking dish and it rises in the middle beautifully. It’s little things like this that make me SO happy!
I baked this in my Wolf Gourmet countertop convection oven – 350˚ degrees convection. If you have a convection oven it helps bake things more evenly but if you don’t, it will work well in a regular oven, it just might take a little more time. You’ll want to start checking for doneness with a toothpick at about 30 minutes and add some time accordingly. The toothpick should come out clean.
Happy baking and enjoy!
- Crumb Topping:
- Dark brown sugar ⅓ cup
- Cane sugar ⅓ cup
- Real salt ¼ t.
- Cinnamon ¾ T.
- Butter, melted 8 T.
- Gluten-free flour mix1 cup
- Cake bottom:
- Gluten-free flour mix1-1/2 cups
- Brown rice flour ¼ cup
- White rice flour ¼ cup
- Baking powder ½ t.
- Baking soda ¾ t.
- Real salt ¼ t.
- Butter, softened 6 T.
- Cane sugar ¾ cup
- Eggs 1 xl or ⅓ cup
- (whole eggs mixed together, measured to ⅓ cup)
- Yogurt, regular, plain2/3 cup + 1 T.
- Vanilla extract ½ t.
- Powdered sugar to sprinkle
- Preheat oven to 350˚.
- For the crumb mixture, in a food processor:
- Combine the dry ingredients in the processor bowl.
- While pulsing the processor, drizzle in melted butter until combined.
- Break apart any moist parts with a fork and sit aside.
- For the cake mixture:
- In a bowl, combine the flour mix, rice flours, baking powder, baking soda and salt. Set aside.
- Measure out yogurt and add vanilla to it. Set aside.
- In another bowl, mix butter until smooth and add sugar.
- Blend well until combined and fluffy.
- Add egg and mix thoroughly.
- Add ⅓ of the yogurt and mix.
- Add ⅓ of the dry ingredients and mix well.
- Repeat with remaining ingredients adding by thirds and ending with the flour mixture.
- Pour this into a pan prepared with parchment and oiled well.
- Spread to the edges evenly.
- Pour crumbs on top and spread to the edges leaving clumps of the mixture.
- Bake for 30 minutes or until toothpick comes out clean.
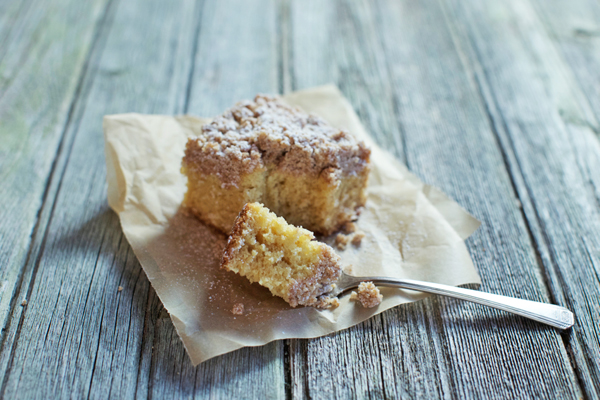
- Allow to cool for 20 minutes before serving.
- Sprinkle with powdered sugar, if desired.
- Cover tightly when cooled.
- Best served within 2 days or frozen to enjoy later.