
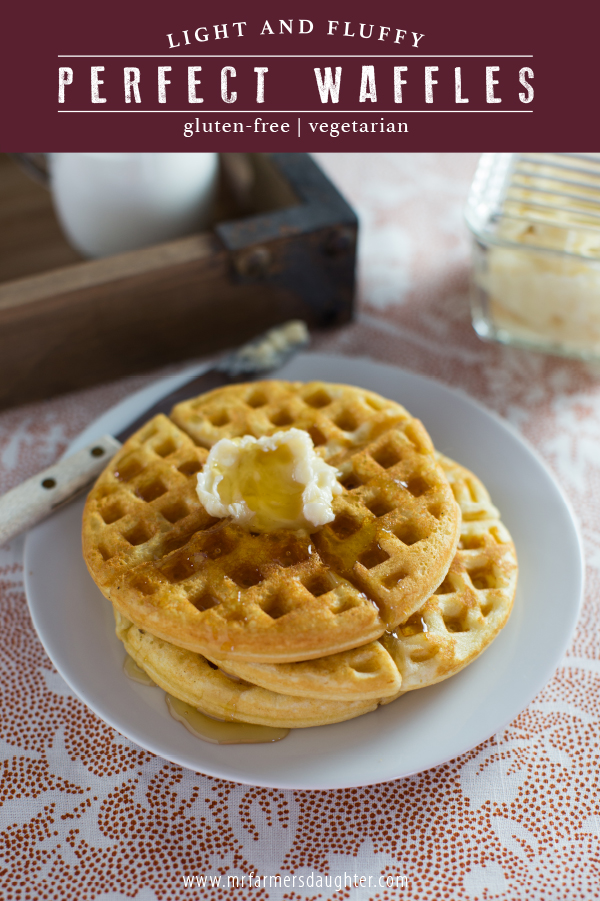
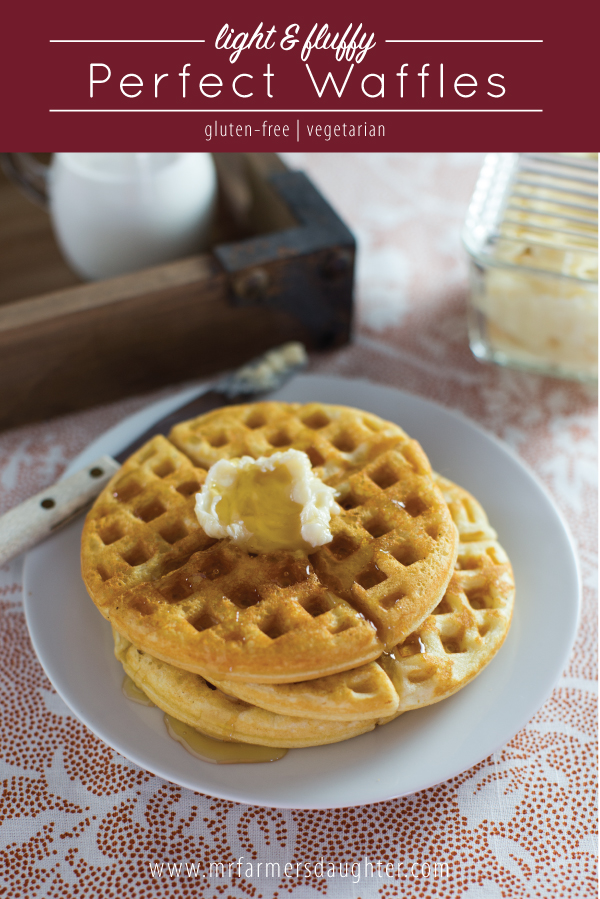
Waffles mean slow Saturday mornings filled with sunshine and warm breezes. That’s pretty much what these waffles taste like. They are sublime with crispy outsides and soft, fluffy insides – the way waffles are meant to be. They’re the perfect gluten-free waffles!
I often make a double batch and freeze them for quick weekday breakfasts or an evening snack with a glass of fresh, raw milk. I think they’re best eaten simply with some butter and real maple syrup but I’ve been known to spread them with creamy ricotta cheese and apple butter on occasion. They stand up well to spreads that are heavy and would be great as a base for a chicken and gravy dinner. So many possibilities! Ice cream sandwiches anyone?
I have several different gluten-free flour mixes in the house so I mix and match them as needed for waffles. Each one turns out just slightly different in texture but they are all equally as delicious.
***If you’d like to simplify your Saturday morning breakfasts even more you can mix up all the dry ingredients and store in a quart sized mason jar. It’s easy to measure out three or four separate recipes, label and store in the pantry to save time when you’re ready to make the waffles. It’s homemade convenience food! I’ve included a .pdf of two labels if you’d like to try that. The label can be printed out, trimmed and then taped to the outside of the jar – it’s complete with ingredients (so you know what to fill the jar with again) and instructions for cooking.
[gview file=”http://www.mrfarmersdaughter.com/wp-content/uploads/Waffles-Gluten-free.pdf”]
- 2 cups gluten-free flour mix
- 1 Tbls. cane sugar
- 4 tsp. baking powder
- ½ tsp. real salt
- 2 eggs, beaten slightly
- ½ cup melted butter, slightly cooled
- 1-3/4 cup milk (more or less depending on the flour used)
- Mix all dry ingredients in a medium sized bowl.
- Mix all wet ingredients in a separate bowl.
- Add wet ingredients to dry ingredients and blend well.
- Cook on heated waffle iron until medium brown and firm.
- Eat immediately or lay separately onto dishcloth (or on cooling rack) to cool. The dishcloth will help to absorb the moisture to keep them as crispy as possible.
- To reheat, a toaster is the best option for crispy outside and soft inside.
- Can be kept in the refrigerator for up to a week. Store in the freezer for several months.
SaveSave